Creating a web app is an awesome way to let people interact with your Python code because people everywhere in the world can access it; even the ones without any Python skills can use a graphical interface. It brings a whole another level of visualization and interactivity to your engineering project. First, we will ask VIKTOR to create a folder with an empty app containing all files you need, and then install it.
Some years ago, you would be right, but nowadays, the low-code app development platform VIKTOR makes it so easy that virtually anyone with Python knowledge can do it.
In this tutorial, we will guide you to build your very first app with VIKTOR. We will start with a blank app and create an interactive 3D model of a radio tower step by step. So, let’s get started!
Note: In case you need it, we included a complete web app code at the end of this tutorial.
Contents:
- Creating and starting an empty app
- Creating a 3D model
- Adding input fields
- Connecting the input fields to the 3D model
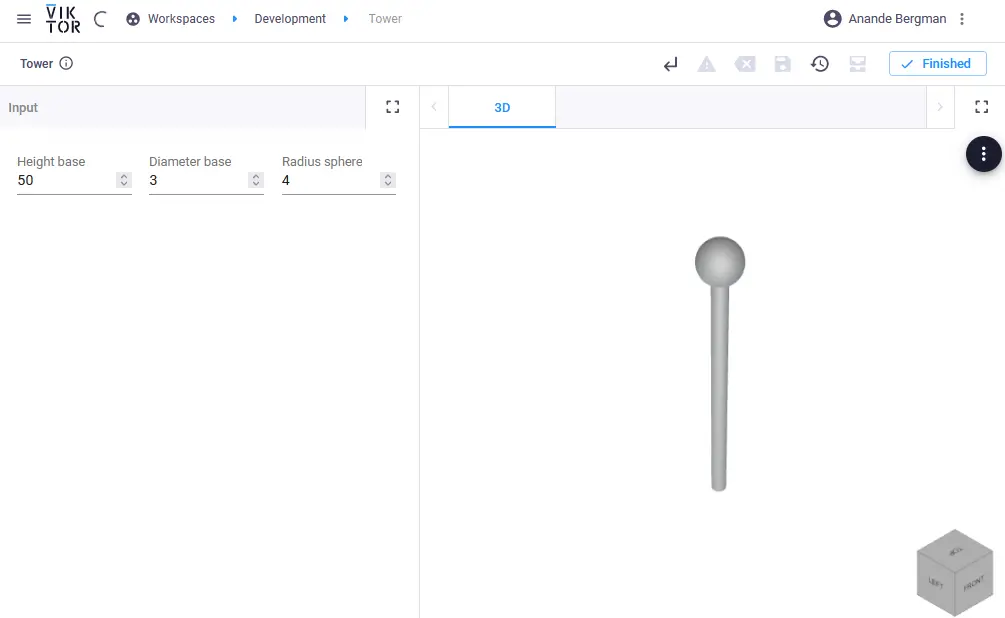
- Adding a Sphere
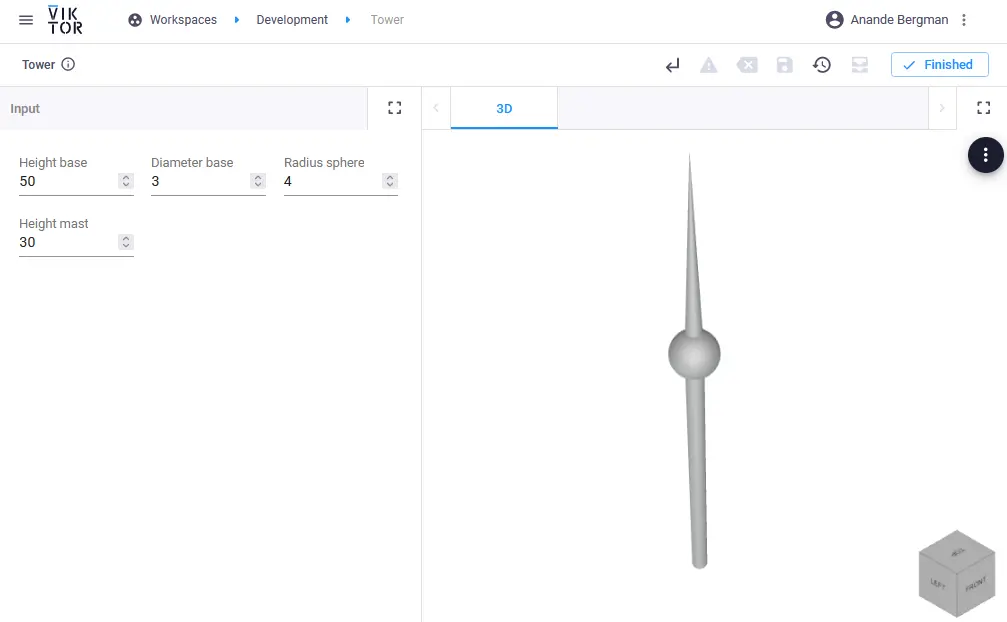
- Adding the mast
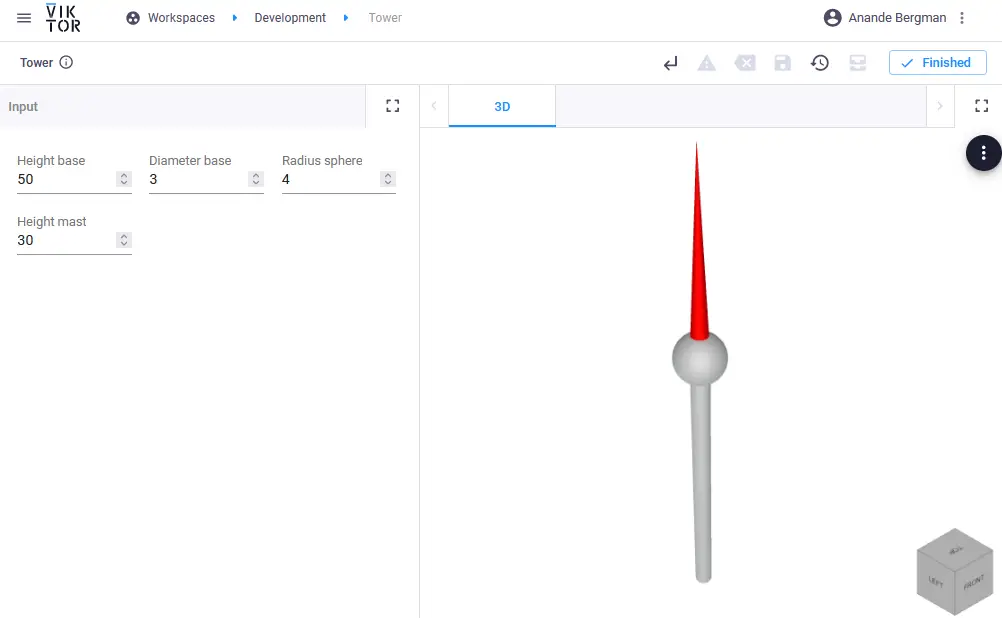
- Adding Materials
- What is next?
- All code together
Prerequisites
- A free VIKTOR account
- Installing the free VIKTOR library based on the instructions you receive by mail after making an account
- Some Python programming experience
- Ability to write and use functions
(You are always welcome to refer to our Python User Functions Exercises and the relevant lesson here as well as any other Python lessons, tutorials and exercises we have to reinforce your programming proficiency.)
Installing VIKTOR
Before we get started, we need to download and install VIKTOR. VIKTOR is the platform that will help us create and host the web app using nothing but Python.
Here, you can create your VIKTOR account for free. Just follow the installation instructions which are pretty straightforward. This will take approximately 10 mins.
First, we will first ask VIKTOR to create a folder with an empty app containing all files
you need, and then install it. We will use this app as a basis to make your app. So, let’s get started!
- In the file explorer, go to the location where you like to store this and other future apps. Let’s assume the folder is called ‘viktor-apps’.
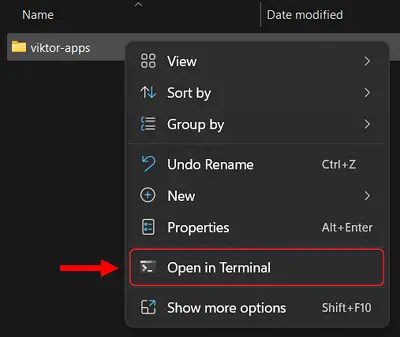
Right-clickin this folder and click on ‘Open in Terminal’ (or similar, e.g. ‘Open PowerShell window here’) to open the command-line shell, as in the image below. Note that in older versions of Windows, you may need toShift + Right-clickon the folder.
- On the command line, write the following command:
viktor-cli create-app tower-app
This command creates an app with the name ‘tower-app’. After executing the command, you will find a folder called ‘tower-app’ inside the ‘viktor-apps’ folder.
1. In the PowerShell navigate to the ‘tower-app’ folder:
cd tower-app
2. Before installing a new app, you need to clear the database by running the following command:
viktor-cli clear
3. Now you can install your app using the command below. Installation can take up to 3 minutes, so just have a little patience and read the information below.
viktor-cli install
The command tells VIKTOR to install the app stored inside the folder where you run the command. That is why we ask you to navigate to the app folder first.
4. Start the app with:
viktor-cli start
Congratulations, your app is up and running! However, do not close your command-line shell; otherwise, your app will stop.
5. Open your app in your browser by visiting VIKTOR cloud as explained in the command-line shell
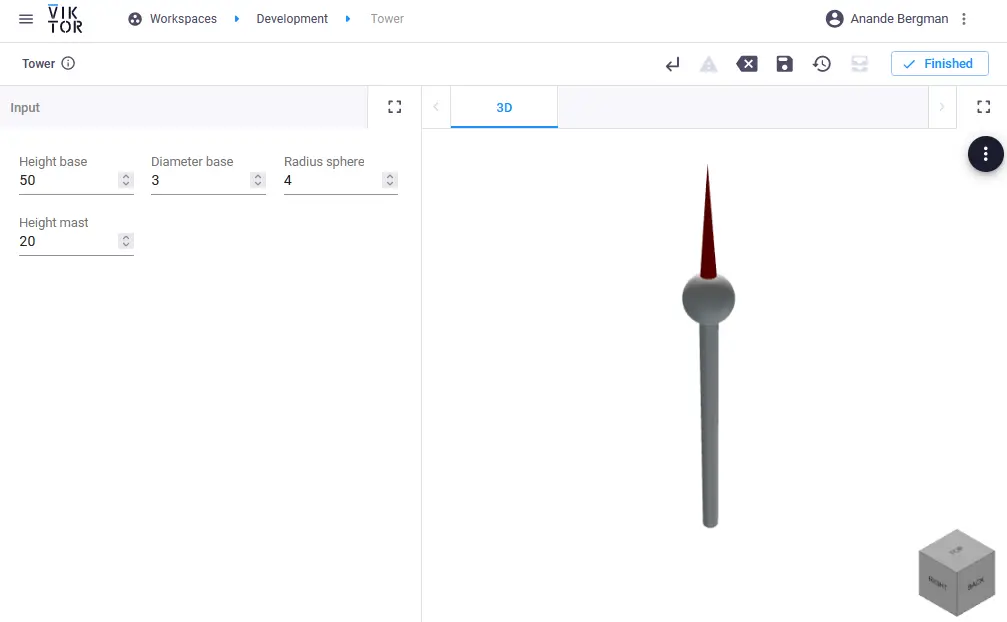
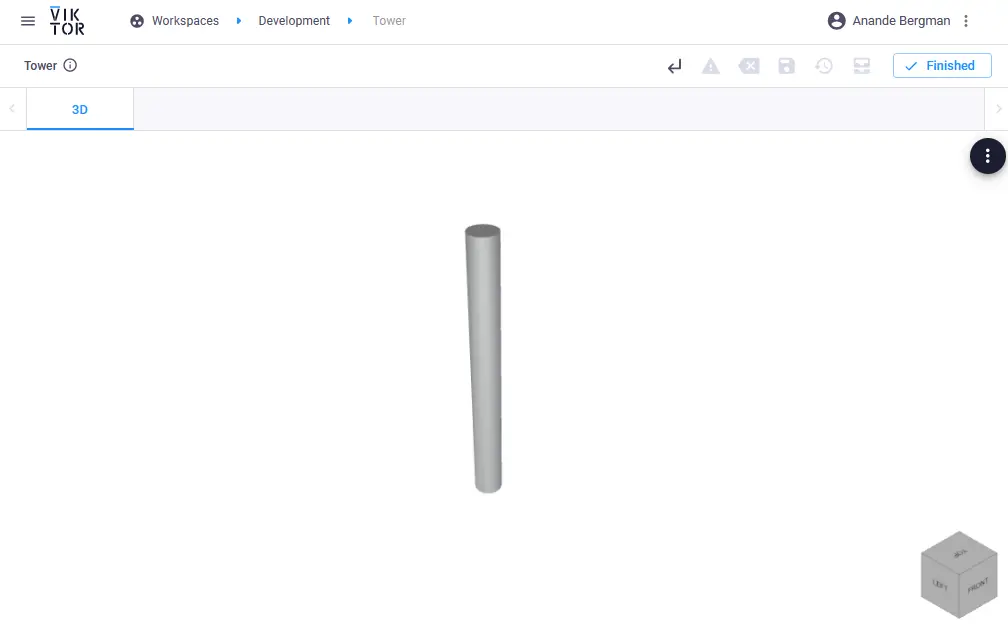
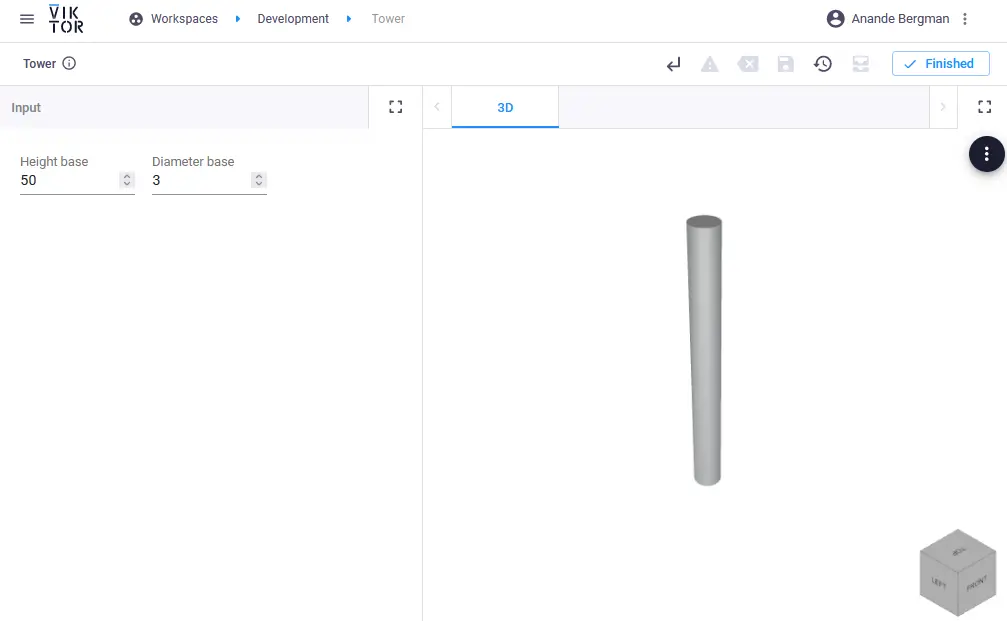
6. After logging in, open the “Development” card. Great, your app is up and running. Now let’s go to the fun part: start building the 3D model!
Anande takes "Automate the Boring Stuff" philosophy by heart and contributes to increase efficiency in engineering applications with smart Python-based parametric design solutions @VIKTOR.