This tutorial will show you how to resize any number of images in 6 lines of Python code (excluding library import lines).
Holy Python is reader-supported. When you buy through links on our site, we may earn an affiliate commission.
Used Where?
- To resize multiple images without too much labor in a variety of applications:
- For websites
- Books
- Archiving
- Databases
- Data science
- Machine learning
- Photography etc.
We’re going to need Python’s PIL library and os library.
Let’s import them first:
import PIL
import os
from PIL import Image
Estimated Time
5 mins
Skill Level
Intermediate
Modules
Image
Libraries
PIL, os
TUTORIAL
You can resize multiple images in Python with the awesome PIL library and a small help of the os (operating system) library.
Secondly, let’s assign the path of the images to a variable:
f = r'C://Users/xx/Desktop/testimages'
os.listdir() function you can read all the file names in a directory. os.listdir(f)
After that, all you have to do is to create a for loop to open, resize and save each image in the directory.
f_img variable is assigned the path plus file name with a slash sign in the middle in each iteration.
In last 3 lines, image is opened, resized and saved consequently.
f = r'C://Users/xx/Desktop/testimages'
for file in os.listdir(f):
    f_img = f+"/"+file
    img = Image.open(f_img)
    img = img.resize((2296,1724))
    img.save(f_img)
This is a very crude code without any bells and whistles so, it can be improved.
For example, adding a try / except statement to the loop can be a good idea. It would save the program from breaking down when resize operation can not be carried out (maybe due to having other file formats in the directory or a broken image file.)
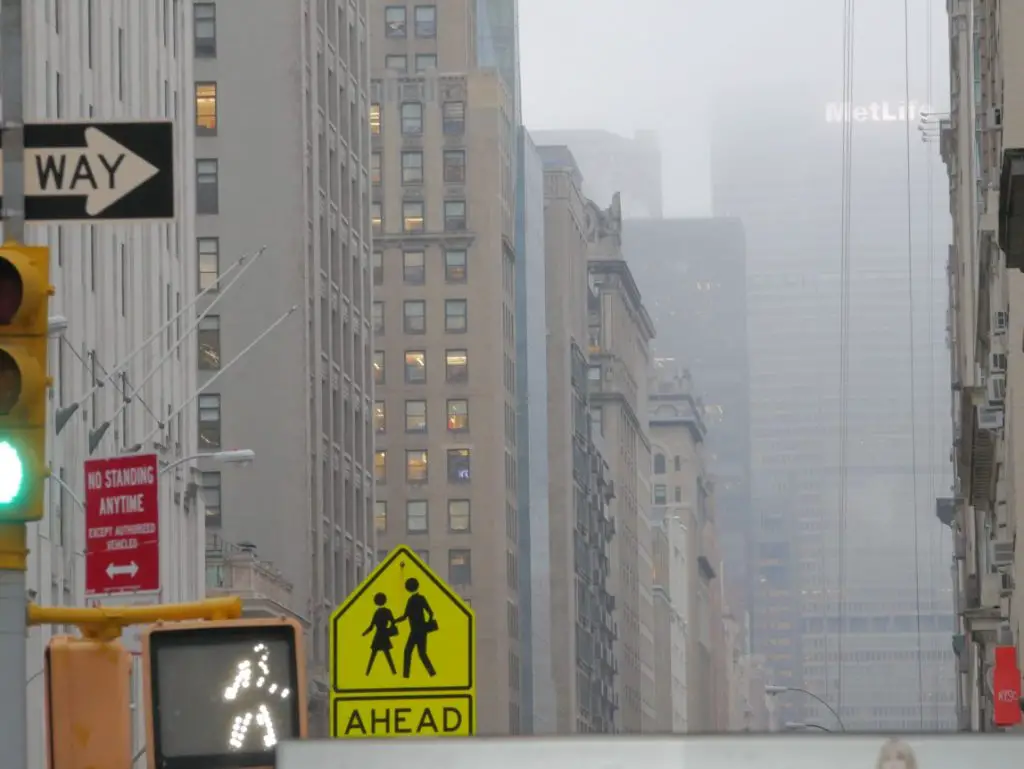
Above image was taken with Panasonic Lumix G85 and is ~5mb in original size and 4592×3448 resolution.
For instance, resizing 1000 similar images in imagetest folder to 50% of the current resolution took approximately 30 secs on my computer. On the other hand, resizing 1000 images of already reduced size (approx. 500kb) takes nearly 10 secs to resize.
Here is the full code:
import PIL
import os
import os.path
from PIL import Image

f = r'c://Users/xx/Desktop/imagetest'
for file in os.listdir(f):
    f_img = f+"/"+file
    img = Image.open(f_img)
    img = img.resize((2296,1724))
    img.save(f_img)
CONCLUSION
In short, computation offers great power indeed.
The code took about a couple of minutes to write and it took Python kernel approximately half a minute to fully process.
(It may take slightly longer to write a similar code in the very beginning but you get faster and faster eventually, just like spoken languages.)
To sum up, doing the same process manually would probably take days plus the physical and mental fatigue.
You can rely on other scripts and software for resizing multiple images but doing this in Python was a breeze without any glitches. Moreover it’s good coding practice and writing scripts in Python is almost a zen-like experience sometimes. You should definitely give it a try. In addition to that, images are used in much more complex tasks such as machine learning in Python.
Thank you for checking this tutorial out.
Additionally:
To time your codes you can also use Python’s timeit library.
If you’d like to see an extensive tutorial about Python’s PIL library, you can check out this post here.