Algorithm: Merge Sort
- FUNCTION: Sorting
- PERFORMANCE: O(n log n)
- DESIGN CATEGORY: Divide and Conquer
- FOUNDED IN: 1945
- FOUNDED BY: John von Neumann
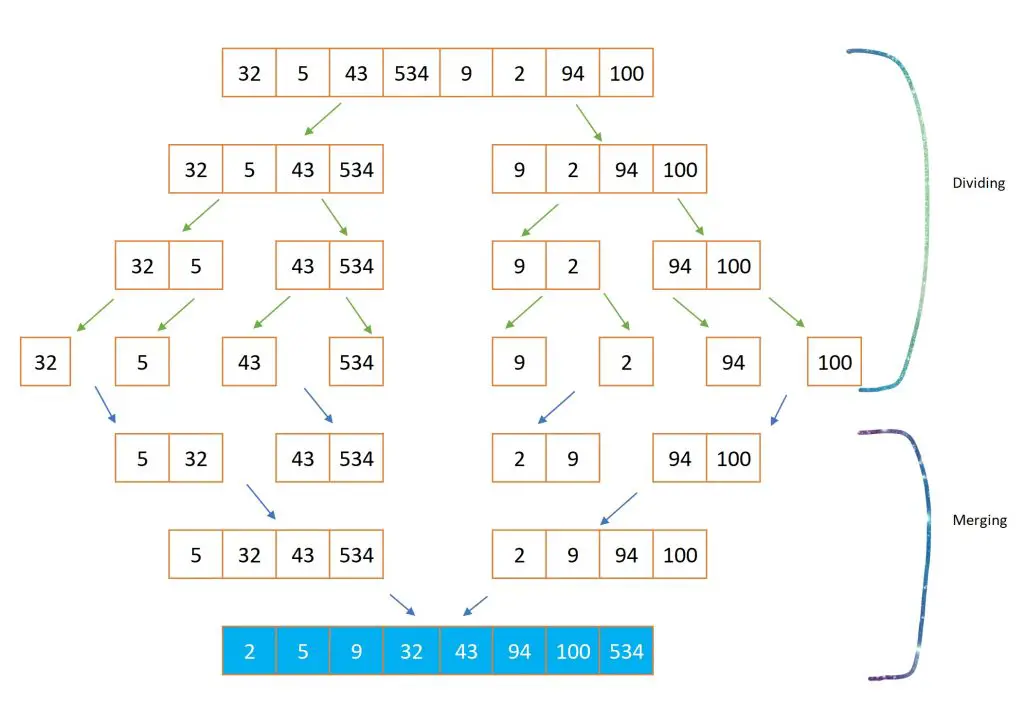
Merge sort works by splitting collections to sub-collections until there is one item in the list and then sorts the items as its merging them.
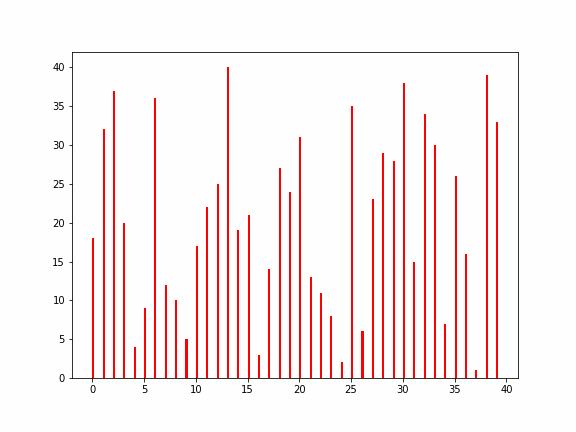
You can see an illustrated scheme showing how merge sort algorithm proceeds step by step below.
STEP BY STEP
You can use the Python code below to create a merge sort algorithm in your local environment. yield statement is used instead of return to create a generator so that the output is an iterable. (For visualization purposes.)
Merge sort is generally an efficient algorithm. It’s also a “divide and conquer” algorithm by design since it recursively divides the problem to sublists until these sublists are simple enough to be solved and then merges the solutions to the sublists to end up with one eventual solution to the ultimate problem. (Final sorted list)
MERGE SORT ALGORITHM CODE IN PYTHON
def MergeSort(lst):
    if len(lst) > 1:
        middle = len(lst)//2
        l = lst[:middle]
        r = lst[middle:]

        MergeSort(l)
        MergeSort(r)

        i,j,k = 0,0,0

        while i < len(l) and j < len(r):
            if l[i] < r[j]:
                lst[k]=l[i]
                i+=1
            else:
                lst[k]=r[j]
                j+=1
            k+=1

        while i < len(l):
            lst[k]=l[i]
            i+=1
            k+=1

        while j < len(r):
            lst[k]=r[j]
            j+=1
            k+=1

    return lst

a= MergeSort([2,46,66,3])
print(a)
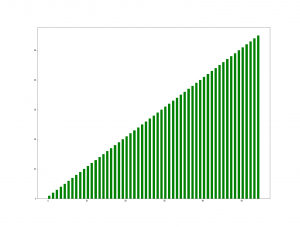
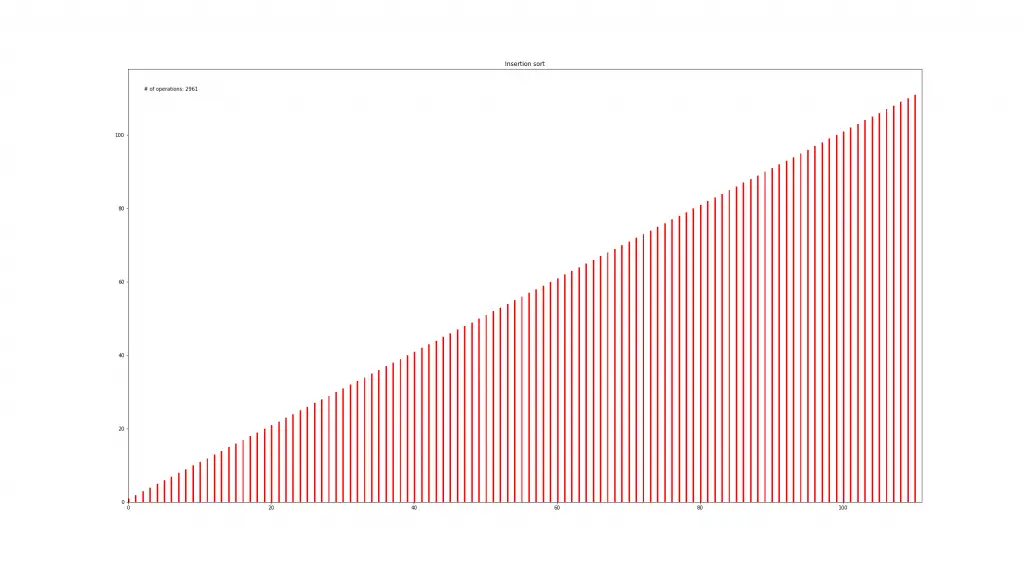
MERGE SORT ALGORITHM VISUALIZATION
Matplotlib has a great class called animation which can be used to generate animations and live charts as below:
There is a divine pleasure in watching an algorithm at work. By using Python’s animation library and FuncAnimation method you can visualize your sorting algorithm as it sorts a random data you throw at it.
This can be achieved by taking advantage of generators concept in your algorithm and using that iterable generator to create a graph with FuncAnimation. It might seem more complicated that it actually is so feel free to work on the code below.
This code was originally published by Najam Syed here.
if __name__ == "__main__":

    N = 17
    A = [x + 1 for x in range(N)]
    random.seed(time.time())
    random.shuffle(A)

    figure, ax = plt.subplots(figsize=(12,9))
    bar_list = ax.bar(range(len(A)), A, width=0.3, align="edge", color="darkgreen")

    index=count()
    def update_figure(A, bars, iteration):
        for bar, value in zip(bars, A):
            bar.set_height(value)


    anim = animation.FuncAnimation(figure, func=update_figure,
        fargs=(bar_list, next(index)), frames=MergeSort(A), interval=100,
        repeat=False,save_count=150)
    plt.show()
If you’re interested in saving your animation as a .gif or video file (such as: .mp4, .mov, .avi), you can check out the Matplotlib Animation saving tutorial here.
HISTORY
Merge Sort algorithm was invented by John von Neumann in 1945. Neumann was a significant American-Hungarian scientist who also worked with Alan Turing on Artificial Intelligence on scientific and philosophical levels.
He also founded the “Meteorological Program” in Princeton in 1946. Neumann proposed a global warming theory in 1955, suggesting human activities (burning of coal and oil) on earth might be the cause of global warming which may have changed the atmosphere’s composition sufficiently to account for a general warming of the world by about one degree Fahrenheit.
Another algorithm, called Timsort, is based on merge sort and insertion sort and is used under Python’s hood for its own sorted() function and .sort() methods.
Found by software developer Tim Peters in 2002, Timsort is a hybrid algorithm derived from merge-sort and insertion-sort algorithms.
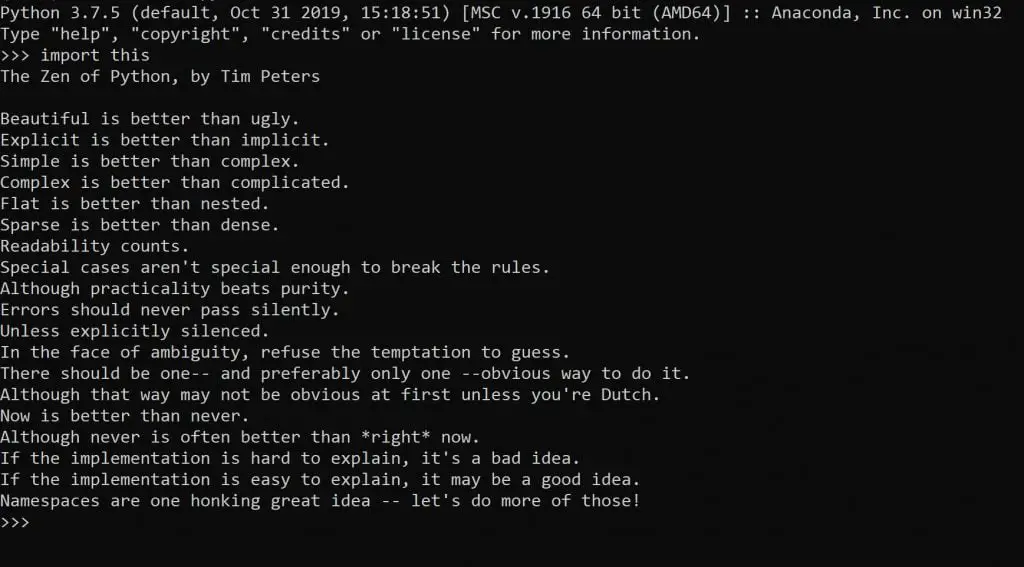
Tim Peters also wrote The Zen of Python which is embedded in Python as an Easter egg and can be found by running: import this.