PIL image manipulation library of Python has more tricks under its sleeve than editing images such as taking a screenshot of your screen.
Used Where?
To capture screen
Face Recognition
Interacting with games and software
Research
Security
Surveillance
Let’s import ImageGrab from the PIL the library:
from PIL import ImageGrab
Estimated Time
3 mins
Skill Level
Intermediate
Modules
ImageGrab
Libraries
PIL
Tutorial Provided by
HolyPython.com
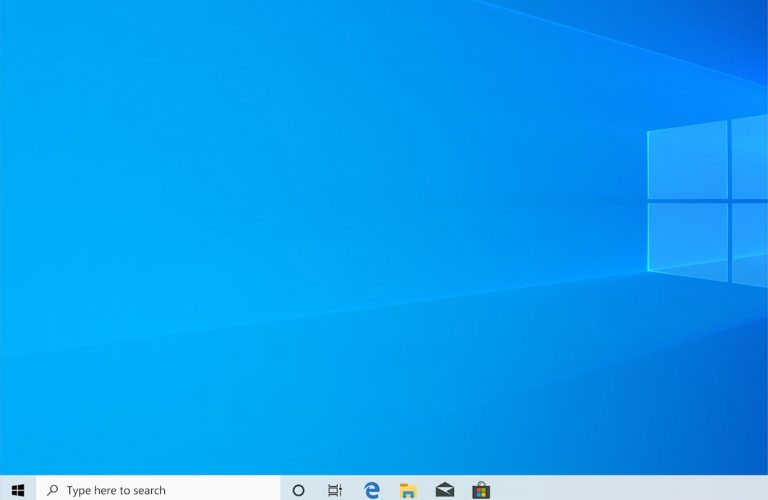
ImageGrab in action
All it takes is a 2 line implementation in Python:
im=ImageGrab.grab()
im.save("Screenshot.jpg")
You might want to save this little code as “my_program.py” and schedule it with Windows so it takes screenshots of the computer at predefined intervals such as every hour or minute.
In that case, you will need the filename of the screenshot to be different each time.
One way to tackle this is using the exact time of the screenshot in the filename. This can easily be done with time library:
import time
savetime=time.strftime("%Y-%b-%d__%H_%M_%S",time.localtime())
Here is the full code:
from PIL import ImageGrab
import time

im=ImageGrab.grab()

moment=time.strftime("%Y-%b-%d__%H_%M_%S",time.localtime())
im.save(savetime+"Screenshot.jpg")
Screenshot will be saved either in the default Python working directory or if you saved your script in a file, in the same directory where that .py file is.
Conclusion
Additionally ImageGrab can be used to obtain continuous screen feed with the help of a loop structure. You can check out this tutorial to see a sample implementation.